WordPress Menu Tutorial
The following article is a WordPress Menu tutorial. It will show you what all of the menu items and functions are. For help on WordPress as a whole then click this link. Having said that let’s begin, shall we?
The Word Press Menu
First off, I am using WP version 4.7.3 for this tutorial. The following image shows the complete WordPress menu and the dashboard.
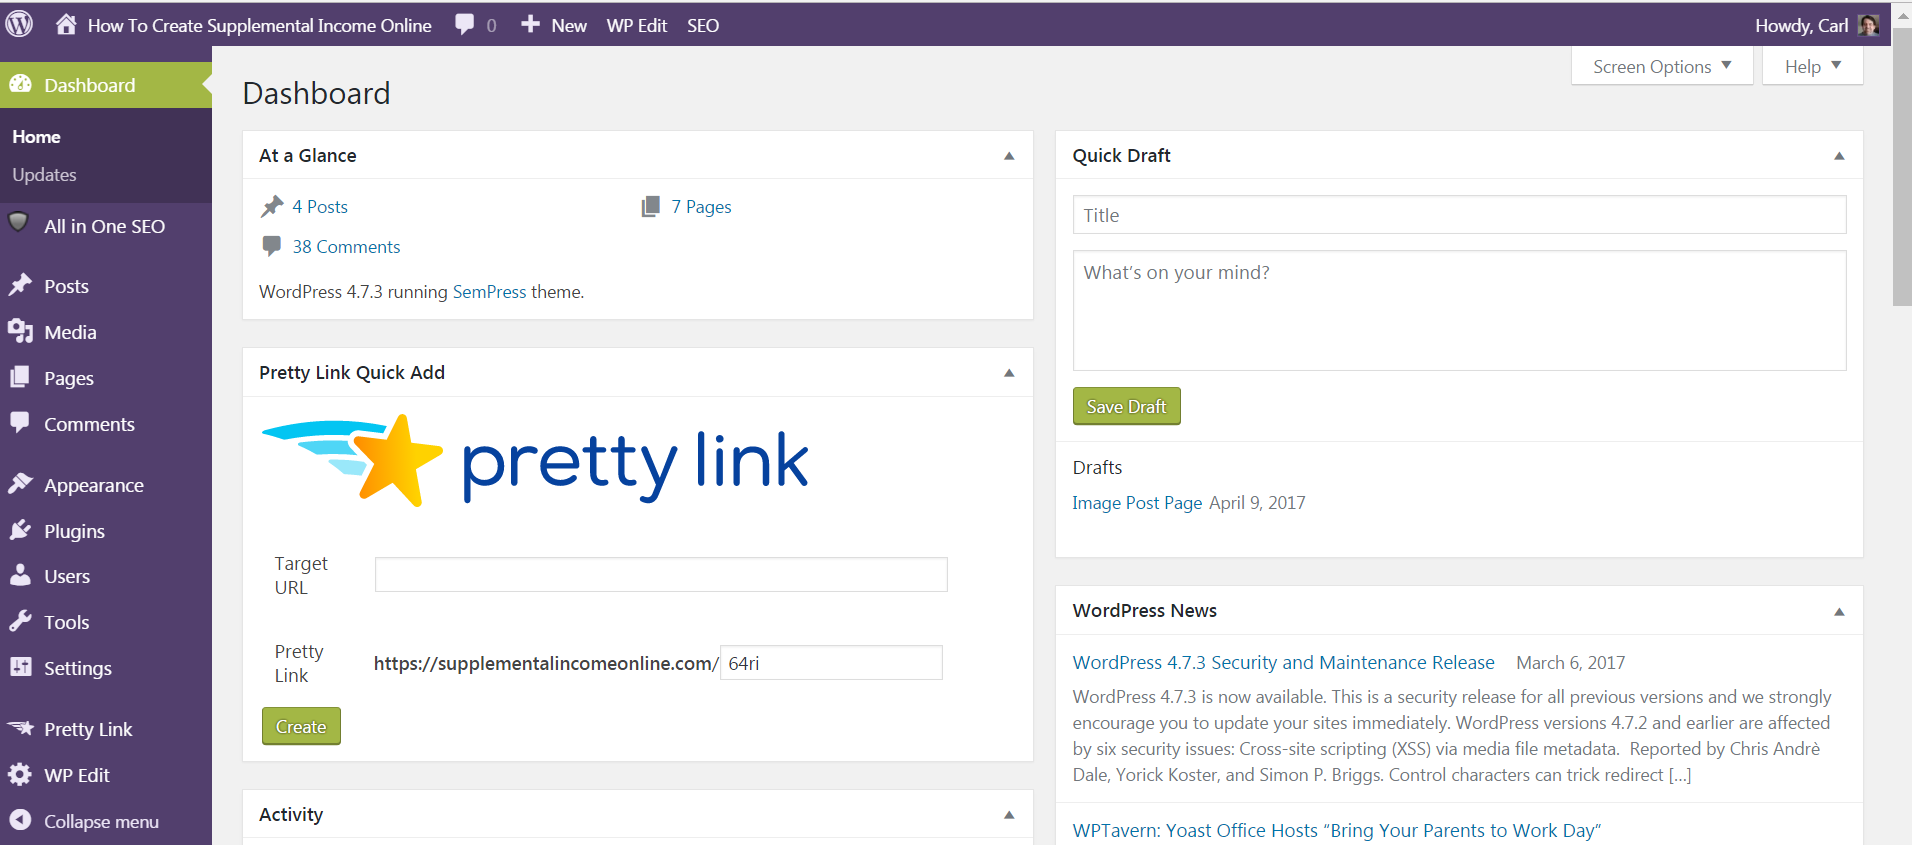
I will be explaining what each of the menu components does in this tutorial. The “Home” tag under the Dashboard just brings you to the Dashboard, while the “Updates” will list any updates that are required by WP or its plugins.
All In One SEO
The All In One SEO menu item allows you to modify your SEO settings, sitemap, and features to name a few.
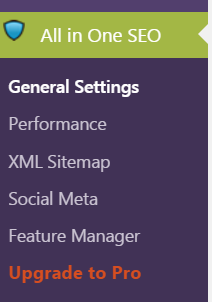
- General Settings – This allows you to setup your SEO with regards to General settings, Page and Title setup, Display settings, to name a few. It is also where you will verify your Webmaster setup, (for Google and Bing), and things like Pinterest and Google +, etc.
- Performance – This allows you to modify the Memory Limit, Execution Time and Forced Rewrites. It will also show you the current system setup information.
- XML Sitemap – Here you can update your sitemap and also view and copy your sitemap for submission to Google Console and Analytics and Bing Webmaster Tools.
- Social Meta – This allows you to setup your Homepage (like Title and Description), Image and Social Media links and settings.
- Feature Manager – This is where you can Activate and Deactivate your installed features in WP.
- Upgrade To Pro – This just what it says. It allows you to upgrade to the paid Pro version of WP.
Posts
This is where you will control all your posts (blogs).
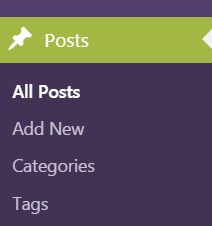
- All Posts – This brings up the window that lists all the posts you have created.
- Add New – This allows you to create new posts.
- Categories – Here you can create categories to put your pages and posts into.
- Tags – This is where you can create tags and assign them to pages and posts. You can also convert tags to categories here using the Tag to Categories Converter or visa versa.
Media
This is where you can add, edit and make changes to all your media files.
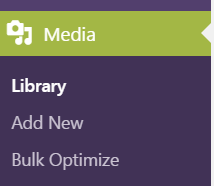
- Library – This where you can see all of your media files. You can select individual files and then edit the image and make other changes.
- Add Media – Just the name implies, this is where you can upload new media files that will go into your Library.
- Bulk Optimize – This allows you to optimize all of your media files that are currently in your Library. It also remembers what images have been optimized already. I should state here that this menu item is from my EWWW Image Optimizer plugin and is not part of the standard installation.
Pages
This is where you will create, edit and manage all of your pages.
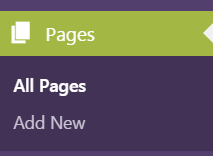
- All Pages – This allows you to access all of your pages that you have created for your website. You can edit, delete, search and perform bulk options with all of your pages.
- Add Page – Here you can create and add new pages.
Comments
The comments menu allows you to manage all the comments that your website receives.

- Comments – This is where you will manage all your comments. You can approve, disapprove, reply and edit all of the comments that you receive.
Appearance
Here you can modify how your website looks and acts on the internet.
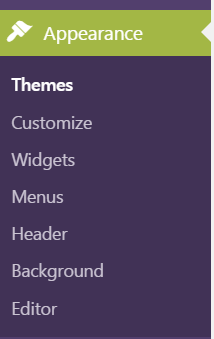
- Themes – You can select and change your theme here. It will show you all of the themes that you have installed and also allows you to search for and add new themes, and it shows which one is your currently active theme.
- Customize – This is the fun one. This allows you to customize your website with regards to setting up your website’s header name and image. You can change the look of the theme, change colors, modify your widgets, insert a background image, etc. There are a lot of options here to make your website look the way you want it to look.
- Widgets – This is where you add and modify your widgets that you have imported into your web page.
- Menus – This is where you can create and modify you menus that you have in your web page.
- Header – This is where you can setup what image you want for your header.
- Background – This allows you set up your background image.
- Editor – This allows you to access the actual HTML code for your page. This is where you will add code for various affiliate ads and links.
Plugins
Here you will manage your plugins with regards to adding, deleting and installing all your plugins.
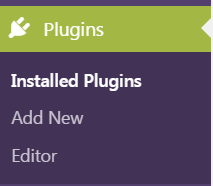
- Installed Plugins – This will show a list of all your installed plugins. Here you can add new plugins, edit the plugin settings, access the actual HTML code for the plugin, activate and deactivate plugins, and delete plugins.
- Add Plugin – As the name implies, this is where you can search for and add new plugins for WP.
Users
This is where you manage all your user accounts.
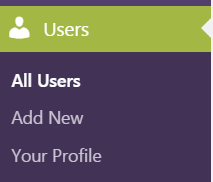
- All Users – This is where you will manage, edit and delete your current users as well as perform bulk options.
- Add New – Here you can create and add new users to your list.
- Your Profile – This is where you can manage and edit your profile within WP. You can also change the color scheme of WP here.
Tools
This is your tools for use in WP. Here you will be able to run tests, import and export your data/content.
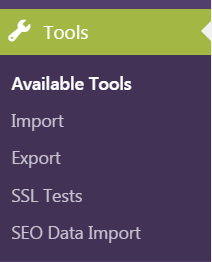
- Available Tools – Here you will find the app called Press it. It allows you to clip text, images, and videos from any web page. There is one for your mobile device as well.
- Import – If you have posts or comments in another system, WordPress can import those into this site. There are various programs for different types of websites to install with Import.
- Export – Here WP will create an XML file for you to save to your computer. This format, which is called WP extended RSS or WXR, will contain your posts, pages, comments, custom fields, categories, and tags. Once you’ve saved the download file, you can use the Import function in another WordPress installation to import the content from this site.
- SSL Test – As the name implies, this will test your site’s security to see if it is HTTPS compliant.
- SEO Data Import – This feature allows you to import SEO data from other themes or plugins into your website.
Settings
This is where you can change your settings within WP.
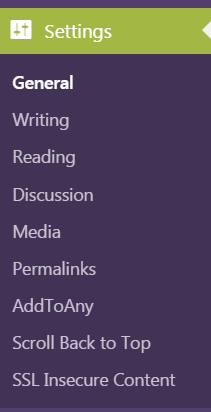
- General – Here you can set up your Headline and Tagline, your profile, email, timezone, etc. It will set up all the standard features of WP.
- Writing – This is where you can set up your mail servers, name and password.
- Reading – Here you can set up your front page displays, how many blogs to show on your blog page, syndication feeds, etc.
- Discussion – Here you can set up your default article settings, email, and comment moderation and blacklist.
- Media – This is where you can change your thumbnails, medium and large sizes for your images default sizes.
- Permalink – Here WP offers you the ability to create a custom URL structure for your permalinks and archives. Custom URL structures can improve the aesthetics, usability, and forward-compatibility of your links.
Collapse Menu
This just allows you to collapse the menu to a ribbon menu and give you more screen space to work in.![]()
And that is it. I hope that you found this tutorial useful and that it helps you with using WP. WP is a great tool for creating a website, which is critical for you to create an online business presence on the internet. If you would like a great platform to launch your business from and get training in WP, and in the creation of a website, then please take a look at this review of a platform which, I think, is one of the best platforms to launch from on the current market.
If you have any questions or comments (good or bad), please leave them below and I will gladly respond back to you. Thank you for reading this tutorial and I wish you all well.





April 26, 2017 @ 9:17 pm
Wow Carl, this article is great! Simple and easy to understand. There are just too many things inside the wordpress dashboard and I don’t want to go through each one to see what they do. Your article is excellent, shows me exactly what I want to know, a real time-saver! Thanks!
April 26, 2017 @ 11:25 pm
Hi Moon
Thanks very much. I tried to keep it a simple as possible so that people whose main language is not English might understand a little better. I am glad that u will find it useful. I am thinking about adding more tutorials to the list. Thank you gain for taking the time to read my tutorial,
Carl
April 22, 2017 @ 3:27 pm
Hey, thanks for this post.
It’s very well written and I have found everything I was looking for in just a few seconds.
When I started to use WordPress it took me a few days to learn everything, but with your tutorial, it will just take a few minutes, half an hour max.
Thanks for the post!
April 22, 2017 @ 3:35 pm
Hi Dario
Thanks for stopping by. I am glad that u found the tutorial helpful. I appreciate your kind words and hope u will come back to read my future posts.
I wish u a great day.
Carl